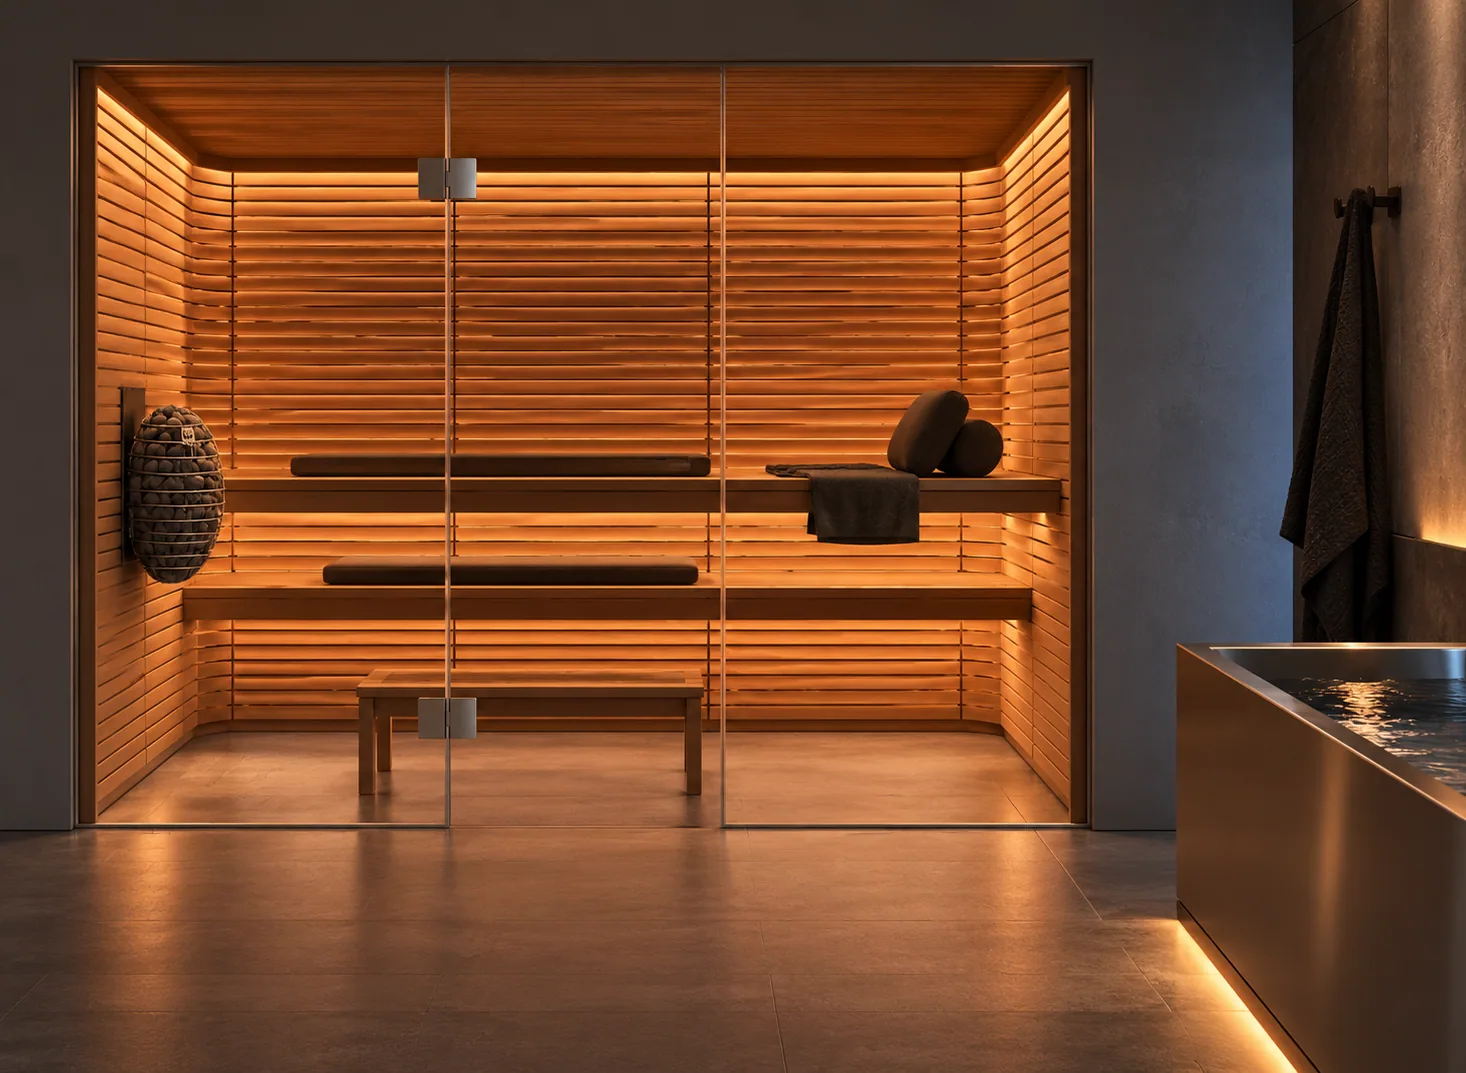
Shell kit from us. Install by you.
Crateworks supplies a complete prefabricated interior: numbered wall and ceiling panels, benches, glass door, vent louvres, duckboards, and a sauna-rated light. Your crew installs it inside a room you’ve framed, insulated, and foil-lined. A licensed electrician handles the 240V circuit and the heater. A plumber handles the drain. The client picks the heater model. We do not send anyone to site.
Rough-in is sized for the largest heater option, so the client can swap models up to shell lining without rewiring. This is the single cheapest decision on the project.
Responsibility matrix.
| Item | Supplied by | Installed by |
|---|---|---|
| Framing, flat ceiling at 7'-0", heater-wall blocking | Builder | Builder crew |
| Mineral wool insulation | Builder | Builder crew |
| Foil vapour barrier + foil tape | Crateworks kit | Builder crew |
| Furring strips (air gap) | Crateworks kit | Builder crew |
| T&G wall and ceiling lining | Crateworks kit | Builder crew |
| Benches, footrest, backrest | Crateworks kit | Builder crew |
| Glass door + frame | Crateworks kit | Builder crew |
| Duckboards | Crateworks kit | Builder crew |
| Vent louvres (intake + exhaust) | Crateworks kit | Builder crew |
| Sauna-rated LED light + driver | Crateworks kit | Licensed electrician |
| Heater, stones, controller | Client (chosen model) | Licensed electrician |
| 240V circuit, junction box, sensor conduit, controller box | Builder | Licensed electrician |
| Floor drain, waterproof membrane, sloped tile | Builder | Plumber + tile setter |
| Exhaust duct to exterior | Builder | Builder or HVAC |
Rough-in by trade.
Framing
- Flat ceiling at 7'-0". Insulate the space above it.
- Solid blocking across the full heater wall, floor to 5'-0". A wall-hung heater with stones can exceed 100 lb.
- Blocking behind the bench line on the back wall for cleats and backrest.
- Door opening framed to the glass door's rough-opening size on the layout drawing.
Electrical
- Dedicated 240V circuit, wire sized for an 8 kW heater (future-proof for a model swap). Electrician sizes the breaker to the chosen heater's manual.
- Junction box on the heater wall at the height and offset in the chosen heater's manual. Heat-rated cable inside the hot room.
- Conduit from the sensor location to the controller box, so the sensor cable can be pulled and replaced.
- Heater feed, controller, Wi-Fi module, and the LED light driver all terminate in the exterior service cabinet.
- All sauna equipment installed per the manufacturer's instructions.
Plumbing
- Floor drain near the centre of the sauna, floor sloped to it.
- No water supply inside the sauna. A tap or hose bib outside the room covers bucket filling.
Ventilation
- Intake low on the heater wall, near or below the heater, per the heater manual. A 3/4" door undercut can supplement it.
- Exhaust on the opposite wall, low under the bench or high near the ceiling, with an adjustable louvre.
- Preferred: exhaust ducted to the exterior in metal duct. Humid climates make this the safer choice.
- Fallback: exhaust into an adjacent room ONLY if that room has its own bath fan ducted outside.
- Do not connect to the house HVAC or HRV/ERV. Electric heater means no combustion intake.
Shell & finish spec.
Wall build-up from framing inward: insulation, foil barrier, air gap, T&G lining. Never use polyethylene sheet inside a sauna.
| Layer | Spec |
|---|---|
| Wall insulation | Mineral wool, R-13 minimum |
| Ceiling insulation | Mineral wool, R-19 minimum |
| Vapour barrier | Aluminum foil, shiny side in, every seam and penetration foil-taped. Never polyethylene. |
| Air gap | 1x2 furring strips over the foil |
| Lining | Clear knot-free T&G, 1x4 or 1x6, species per client choice |
| Fasteners | Blind-nailed through the tongue, stainless or galvanized. No adhesive anywhere. |
| Interior finish | None on walls or ceiling. Benches may take a paraffin sauna oil. |
| Door | Tempered glass, outward swing, magnetic or roller catch, no lock |
| Floor | Waterproof membrane, epoxy-grouted tile sloped to the drain, sectional duckboards |
Exterior service cabinet.
Every control that could ever fail lives in one recessed cabinet on the corridor side of the sauna wall: roughly 16" wide by 24" high, centred ~54" above floor, flush paintable cover on screws or a push-latch. Nothing serviceable sits behind fixed T&G, and Wi-Fi electronics stay outside the foil barrier where the signal actually reaches them.
- Heater controller + Wi-Fi module
- Light driver
- Sensor cable termination
- Junction box with slack in the heater feed
- One empty 1" conduit with pull-string into the sauna, beside the sensor conduit, for future cable changes without opening a wall
Three heater options at 6 kW.
All three are 240V single phase, wall-hung, and sized for a typical residential built-in room. Rough-in sized for the largest so the client can swap late. Rated room size is the heater’s spec; the electrician sizes the breaker per the chosen manual.
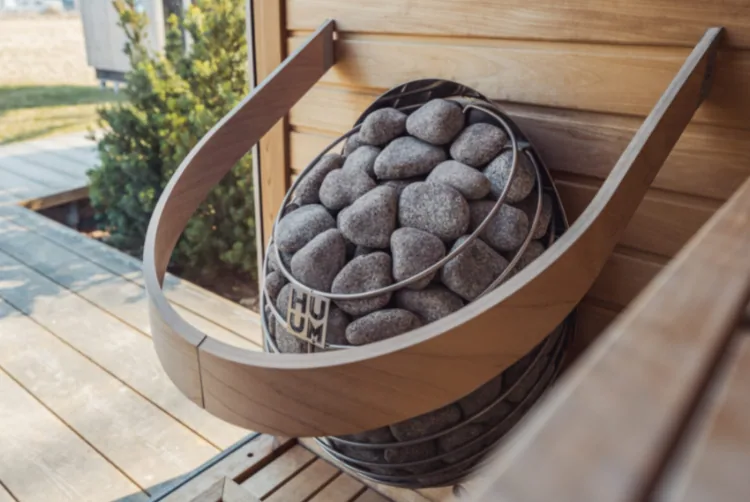
HUUM DROP 6 with UKU Wi-Fi
- Rated
- 177 to 353 cu ft
- Amps
- 18.8 A, 30 A breaker
- Controls
- Separate UKU controller (outside the room)
- Stones
- 122 lb
Sculptural design piece, softest steam, app pre-heat.
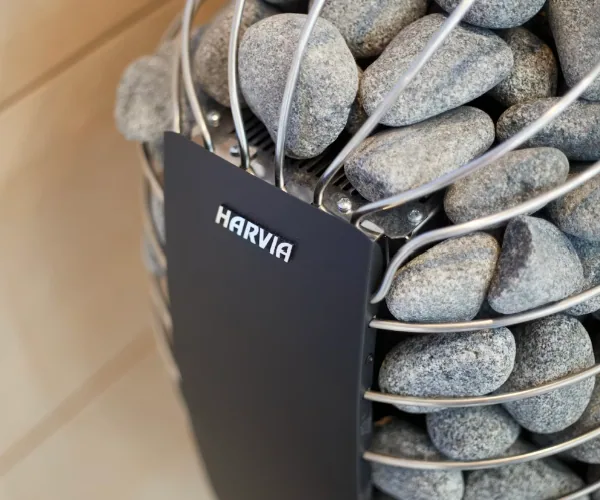
Harvia Spirit SP60FC Wi-Fi
- Rated
- 141 to 282 cu ft
- Amps
- 25 A
- Controls
- Fenix control unit bundled, Wi-Fi
- Stones
- 44 lb
Harvia's flagship design line. Finnish-made.
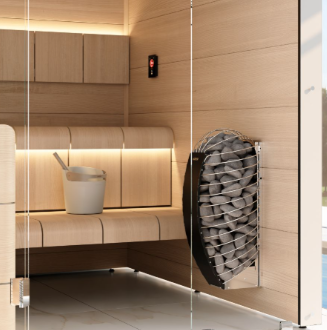
Harvia KIP60B
- Rated
- 170 to 300 cu ft
- Amps
- 25 A
- Controls
- Built-in dial, no Wi-Fi
- Stones
- 44 lb
Value pick. Dual-wall construction stays cooler to the touch (worth noting if kids are around).
Photo hold points.
Work does not proceed past each hold point until we approve the photos. Every photo shows a tape measure for scale. A 20-minute video walkthrough at hold point 1 replaces a site visit.
1. Framing (before insulation)
- Flat ceiling at 7'-0", measured from finished floor
- Heater-wall blocking, full width
- Bench blocking on the back wall
- Door rough opening, with dimensions
2. Rough-in (before insulation)
- Junction box location, measured from floor and corner
- Sensor conduit and controller box
- Light feed and driver location
- Floor drain position and floor slope
- Intake and exhaust openings, duct route to exterior
3. Foil barrier (before lining)
- Foil installed shiny side in, every seam and penetration taped
- Furring strips installed
4. Final
- Heater mounted, clearances measured against its manual
- Door swings out and closes freely
- Heater run to temperature, photo of the controller reading
Built so every failing part comes out without cutting the lining.
- Benches sit on cleats and lift out for cleaning or access.
- Exterior service cabinet for all controls, plus screw-fixed interior panels at the heater junction box, sensor, light, and vents.
- Heater hangs on a lift-off bracket for element replacement.
- Duckboards in sections that fit through the door.
- Door gasket replaceable, hinges adjustable.
Builder questions, answered.
Related
Send the plans. We’ll send a kit spec.
Share the floor plan, ceiling height, electrical panel location, and the client’s heater lean. We come back with a project-specific version of this spec and a lead time for the kit.