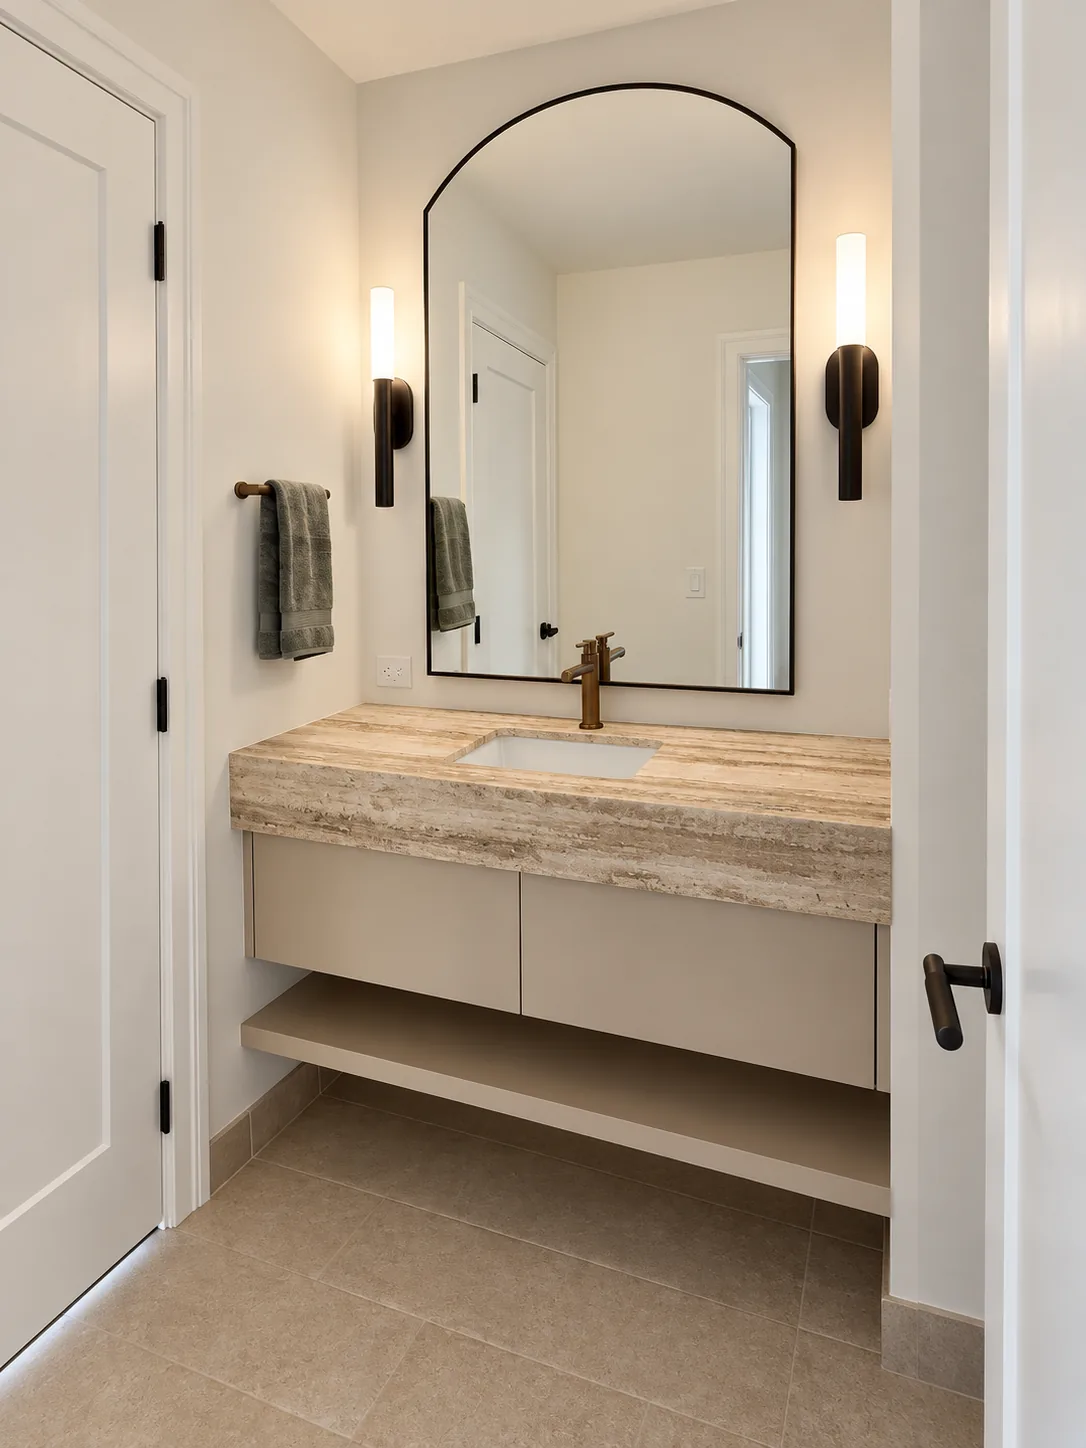
- There are two inspections before drywall: the code's rough inspection and your own walkthrough, which checks the work against your selections.
- In each bathroom, check drain and supply positions against the vanity and fixtures you chose, and confirm any concealed valve body is in the wall.
- Look for blocking wherever something will hang: the vanity, towel bars, the paper holder and grab bars, even if no grab bars are going in yet.
- Check the smart toilet outlet, the towel warmer supply, and the niche and bench framing. After drywall, each of these means opening a wall.
What does pre-drywall inspection mean?
Two different things share the name. The first is the code inspection. The International Residential Code (the model code most US states adopt; your town may amend it) requires a rough inspection of plumbing, mechanical, gas and electrical work before anything is covered or concealed, and before fixtures are set.
The second is the walkthrough: you walking the framed house before drywall. The inspector checks that the work follows code. The walkthrough checks that it follows your selections.
Those are different questions. A drain can pass inspection and still sit in the wrong place for the vanity you chose. This checklist is for the walkthrough.
What to bring to the walkthrough.
Your selections list for each bathroom, the install sheet that comes with each fixture, the vanity drawings, and a tape measure. Walk one bathroom at a time and work through the list below. Take photos of every wall before it closes; they show where pipes, wires and blocking sit for years after.
If a selection is still open, this is the last easy moment to close it. Our post on bathroom rough-in plumbing lists which fixtures have to be decided before the pipes go in.
Drain, supply and valve positions.
Vanity: the drain and supply stubs should sit where the vanity you chose needs them. On a floating vanity they sit at the vanity's bottom height, not the usual floor-level positions. Our post on bathroom sink drain height covers how to check them.
Toilet: measure to the centre of the drain. Twelve inches from the finished wall is the North American standard, which works out to 12 1/2 inches from the bare framing with 1/2 inch drywall. If your toilet is a 10 or 14 inch rough-in, the drain should match that number instead.
Shower: a concealed shower system's valve body should already be fixed in the wall, before it is boarded and tiled. Check the shower drain against your outlets, because a shower with several heads and body sprays can need a 2 inch drain instead of 1 1/2 inch. Our post on shower valve rough-in explains both.
Faucets and tub filler: a wall-mount faucet needs its in-wall body in place before tile. A floor-mount tub filler needs its supply, and on some designs its body, set where the tub will stand.
Blocking for the vanity, towel bars and grab bars.
Blocking is solid framing set between the studs wherever something will be screwed to the wall, so the screws hold in framing, not drywall. Ask your builder where blocking goes, and check it is there.
A floating vanity hangs on a French cleat or a steel wall bracket, lag-screwed into structural blocking inside the wall framing. That blocking goes in through your contractor, before drywall.
Then the bath hardware, room by room: a towel bar or double towel bar, a towel ring at the basin, a robe hook or two, a toilet paper holder, and a towel shelf over the tub if you are adding one. Mark each position on the studs.
Grab bars are worth planning even if none are going in now. The 2010 ADA Standards cover public and commercial buildings, not the part of a private home used only as a home, but they are a useful published reference. They put grab bars 33 to 36 inches above the floor, let a residential unit leave the bars off where wall reinforcement is installed for them, and size a bar and its supporting structure for a 250 pound force. The federal rule for new apartment buildings asks for the same thing: reinforcement around the toilet, tub, shower and shower seat for bars added later.
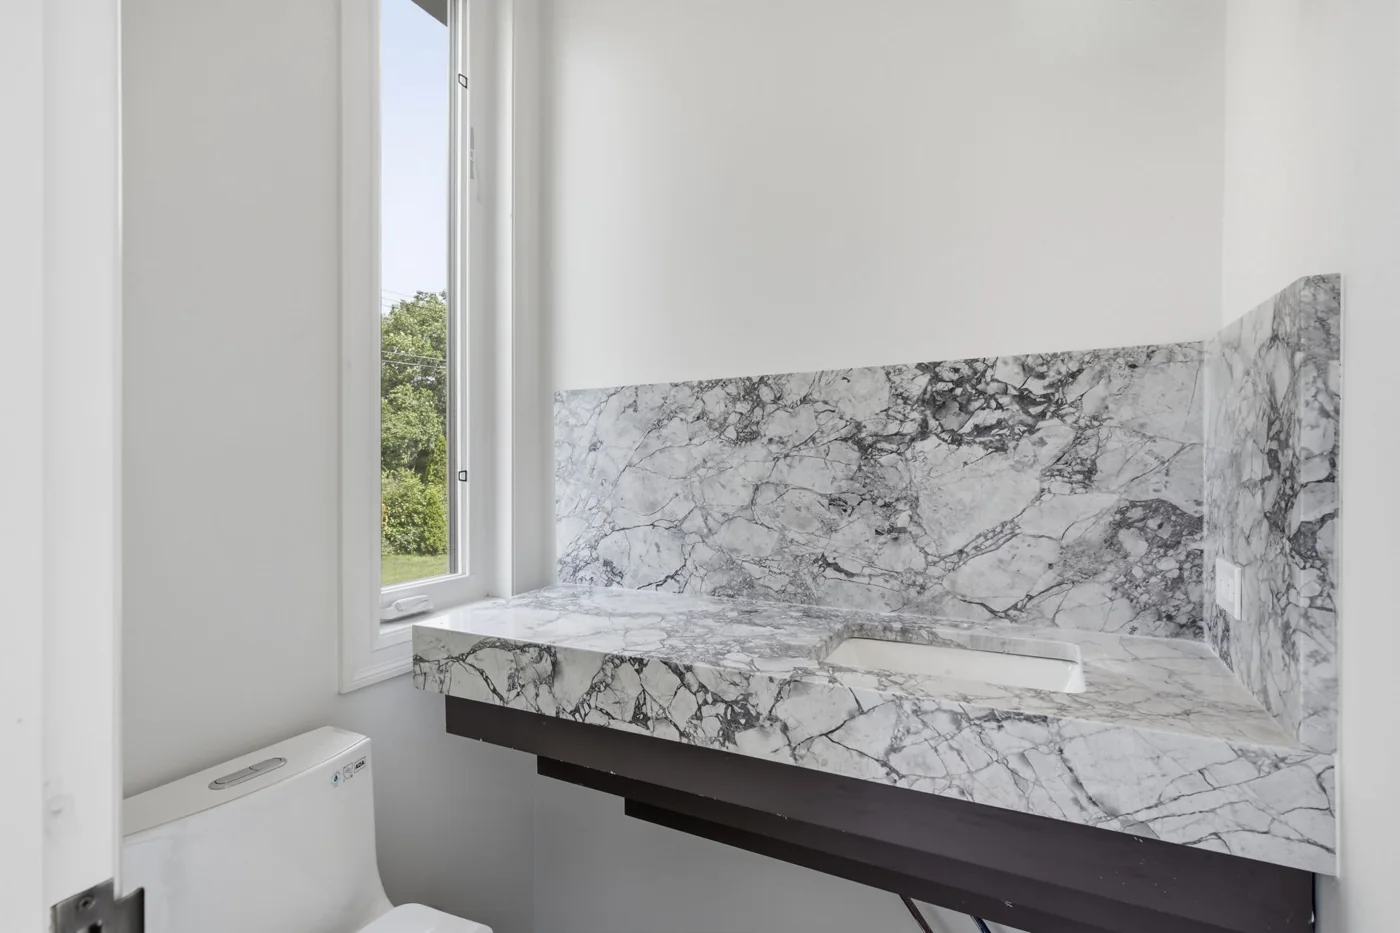
Outlets and power in the bathroom.
Our smart toilet runs on 120V power, so its outlet has to be in the wall before drywall. Under the 2023 National Electrical Code, bathroom receptacles are GFCI protected and stay out of a zone 3 feet horizontally and 8 feet vertically from the top of the tub rim or shower threshold. The 2023 code allows a single receptacle for an electronic toilet or bidet seat inside that zone, placed on the side of the toilet away from the tub or shower, GFCI protected and easy to reach.
Your electrician and inspector work from the edition your area adopted. Our post on the GFCI outlet for a bidet covers what to ask for.
A hardwired heated towel rack needs its supply in the wall behind the rack, at the height the rack will hang. It is an electrical rough-in item, so check it now; after tile, the options are a surface cord or demolition.
Shower niche and bench framing.
No standard sets niche sizes, but some are common. Niches of 12 by 12 inches are typical, 14 inches tall fits oversize bottles, and the framed opening runs 3/4 to 1 inch larger than the finished one. In a walk-in shower, the niche base commonly sits 36 to 40 inches from the floor. Check the framing against the niche on your drawings.
For a bench, the kitchen and bath industry's planning guidelines suggest a seat at least 15 inches deep and 17 to 19 inches above the shower floor. A fold-down seat is allowed by code as long as the shower keeps its minimum 900 square inches with the seat up. Our post on walk-in shower dimensions has the rest of the sizes.
What will make you fail an inspection?
The rough inspection is checked against the code your area adopted, so the list is local. A few items from the model codes that an inspector can flag in a bathroom: a shower valve that is not balanced-pressure, thermostatic or combination type with its maximum set to 120°F; a trap smaller than the fixture needs; a trap farther from its vent than allowed, which is 5 feet for a 1 1/4 inch trap and 6 feet for a 1 1/2 inch trap; and a bathroom receptacle without GFCI protection or inside the tub and shower zone.
Your walkthrough catches a different kind of miss: work that passes code but does not fit what you picked.
The bathroom pre-drywall checklist. Walk it once per bathroom, with your selections in hand.
| Item | What to check | Why now |
|---|---|---|
| Vanity drain and supplies | Stubs where the chosen vanity needs them; on a floating vanity, at its bottom height | Moving a drain later means opening the wall |
| Toilet drain | Centre at the toilet's rough-in from the finished wall: 12 1/2 inches from bare studs for a 12 inch rough-in with 1/2 inch drywall | The bowl has to match the drain |
| Shower valve body | A concealed valve body fixed in the wall | It goes in before the wall is boarded and tiled |
| Shower drain | Drain size matches the number of outlets | Several heads and body sprays can need a bigger drain |
| Wall-mount faucet, tub filler | In-wall bodies and supplies in place | They are set at rough-in, before tile |
| Floating vanity blocking | Solid blocking where the cleat or bracket will be lag-screwed | The vanity hangs on it |
| Bath hardware blocking | Blocking at the towel bar, towel ring, robe hooks, paper holder and towel shelf | The screws need framing behind them, not drywall |
| Grab bar reinforcement | Reinforcement around the toilet, tub, shower and any seat | Bars can be added later without opening the wall |
| Smart toilet outlet | A GFCI-protected outlet for the toilet. If the toilet sits inside the tub or shower zone, the outlet goes on the side of the toilet away from the tub or shower | A smart toilet runs on power, and the receptacle needs GFCI protection |
| Towel warmer supply | A hardwired supply point behind where the rack will hang | After tile, the options are a cord or demolition |
| Niche and bench | Framing matches the niche and bench on the drawings | Tile follows the framing |
Common questions.
- What is a pre drywall walkthrough?
- A walk through the framed house before the drywall goes up. You check that pipes, wires, valve bodies and blocking match your selections, while every one of them can still be seen and moved. It is separate from the code's rough inspection.
- Who does the pre-drywall inspection?
- The code's rough inspection happens before anything is covered. The walkthrough is yours: ask your builder when you can do it.
- Do I need blocking for grab bars if I am not installing them?
- It is worth asking for. The 2010 ADA Standards let a residential unit leave grab bars off where reinforcement is in the wall for them, and the federal rule for new apartment buildings requires that reinforcement. Adding it after drywall means opening the wall.
- How high should grab bars be?
- The 2010 ADA Standards put horizontal grab bars 33 to 36 inches above the finished floor, measured to the top of the gripping surface. They cover public and commercial buildings, not the part of a private home used only as a home, but they are a useful published reference.
- Does a smart toilet need an outlet before drywall?
- Yes. A smart toilet runs on electricity for the heated seat, warm water and dryer, so its outlet goes in at rough-in, with the water line. The 2023 National Electrical Code sets where it can go when the toilet sits near a tub or shower.
Sources.
- International Residential Code 2021, Section R109.1.2 (rough inspection), state-adopted text on UpCodes
- International Residential Code 2021, Chapter 27 (shower valves, shower size), state-adopted text on UpCodes
- International Residential Code 2021, Table P3201.7 (trap sizes), state-adopted text on UpCodes
- International Residential Code 2021, Table P3105.1 (trap to vent distance), state-adopted text on UpCodes
- Fine Homebuilding, Installing a Toilet (rough-in from the finished wall)
- 2010 ADA Standards for Accessible Design (grab bar height, reinforcement, strength)
- Fair Housing Act rule for new apartment buildings, 24 CFR 100.205 (wall reinforcement for grab bars)
- National Electrical Code 2023, Section 210.8 (GFCI in bathrooms), Mike Holt commentary
- National Electrical Code, Section 406.9(C) (receptacle zone near tubs and showers), Mike Holt commentary
- IAEI Magazine, significant changes to the 2023 National Electrical Code (electronic toilet receptacle)
- Fine Homebuilding, Installing a Shower Niche (common niche sizes)
- Homedit, Shower Niche Height (common niche base height)
- Hunker, the kitchen and bath industry's bathroom planning guidelines (shower bench)
Bathroom build checklist
Step 11 of 11
Choose
Measure
Rough-in
Inspect
- 11Pre-Drywall Inspection Checklist for Bathrooms
Keep reading.
Get a quote
Have drawings or a builder's quote?
Send them. We price the same spec, line by line, so you can compare it with what you have. Your builder stays in charge of the job.
Send your plansOnly have the bathroom?
Send a photo and the measurements, including the distance from the wall to the drain. It comes back priced as one bath package.
Start with the bathroomBuilder or contractor?
Trade partners get a written schedule guarantee, Partner Credit on annual spend and pricing locked to delivery.
See trade termsSchedule terms
Price what is still open
Send the trim, accessories and vanities that are not ordered yet. Each line is quoted separately and delivered in about 90 days.